
This recipe came to me from a former friend, years ago. Well, it mostly came from her. She sort of wrote out amounts, then sort of wrote directions. She neglected to write out little details like precisely how to prepare the cookies, or any reference to oven temperatures. You know, little things like that. Anyhoo, after noodling with it a few times, I’ve gotten it to the point of making myself quite happy, thank-you-very-much. And honestly, these cookies are so danged cute!

Here’s what you’ll need…
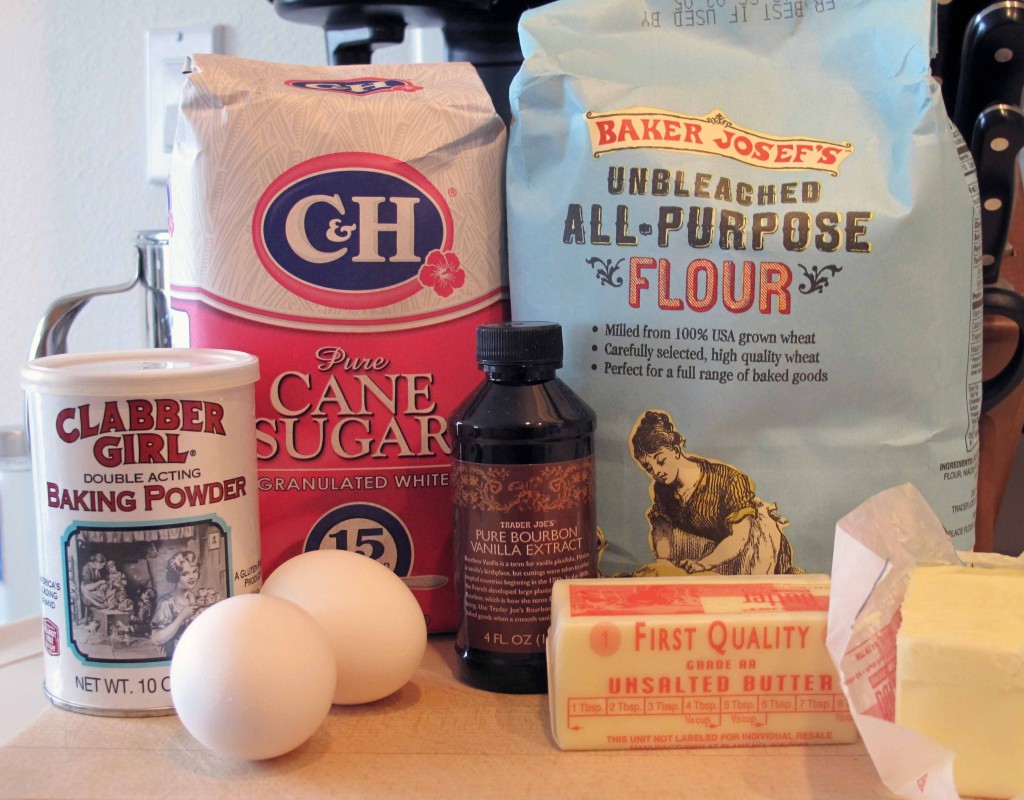
Unsalted Butter, Sugar, Eggs, Vanilla Extract, A.P. Flour, Baking Powder and Salt (not pictured; for Powdered Sugar Icing: Powdered Sugar, Milk and Vanilla.)
Bring the butter and eggs to room temperature.
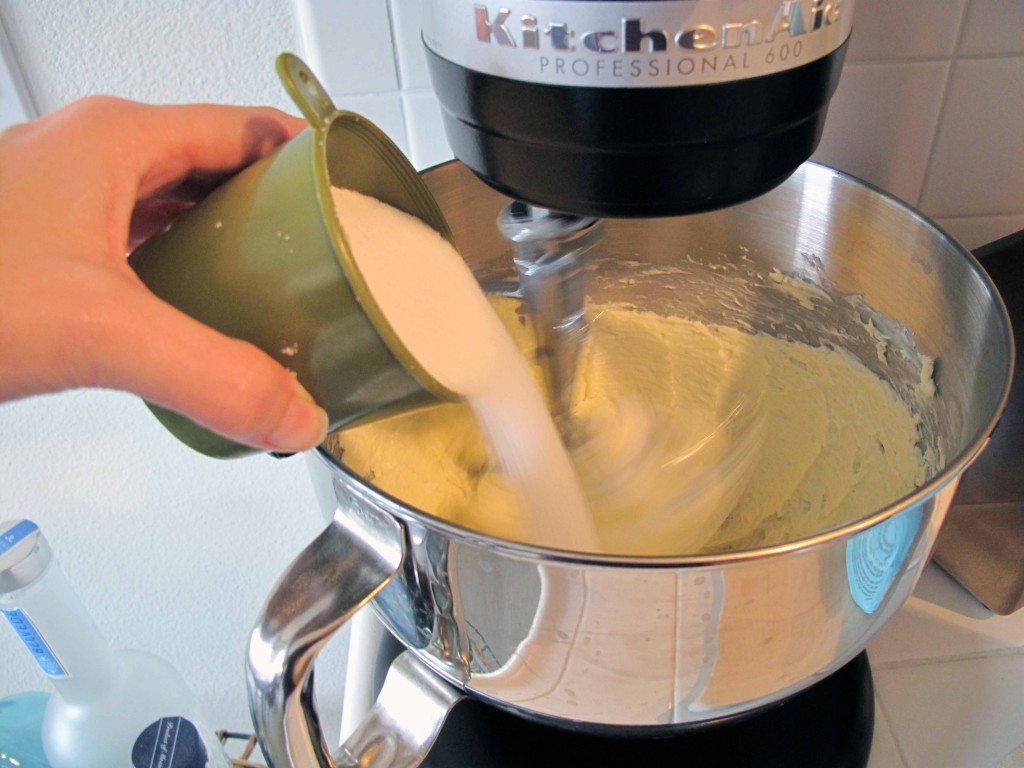
Cream the butter and sugar together until well-blended.
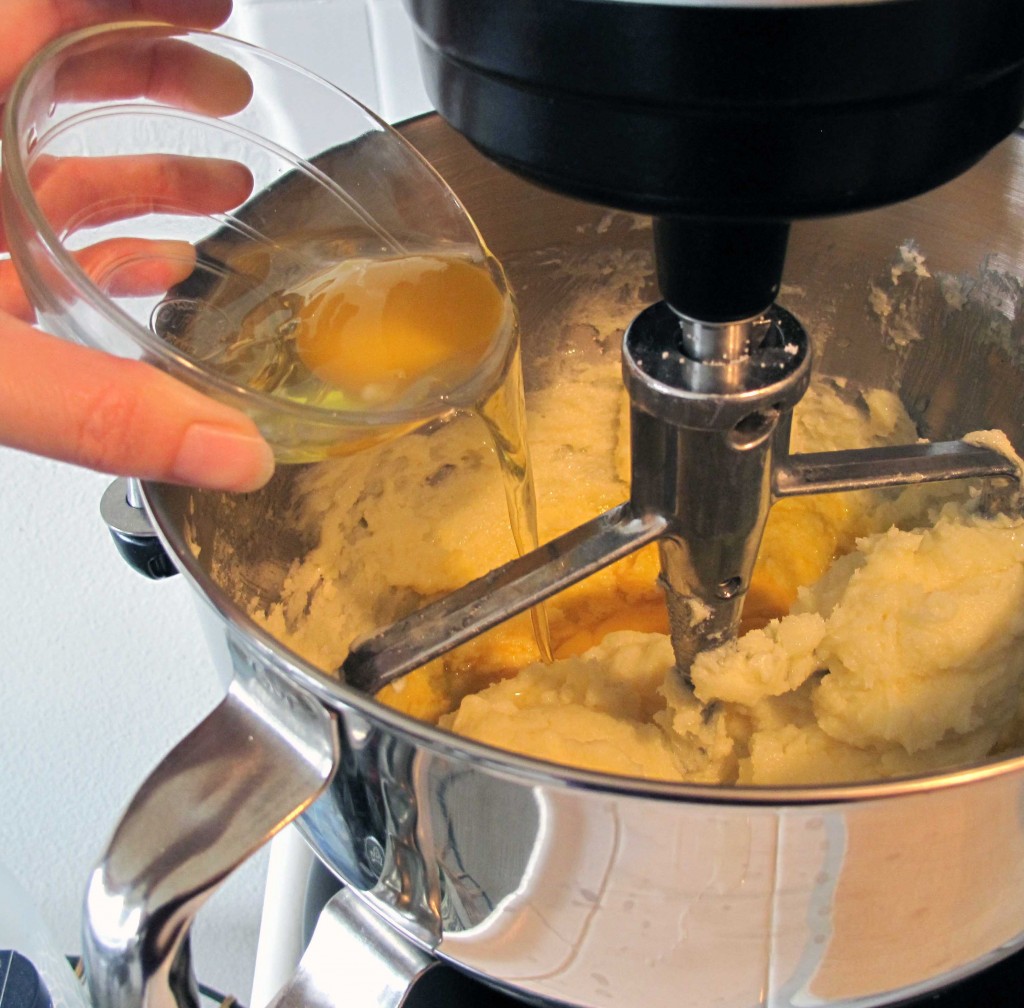
Add the eggs and vanilla. Mix.
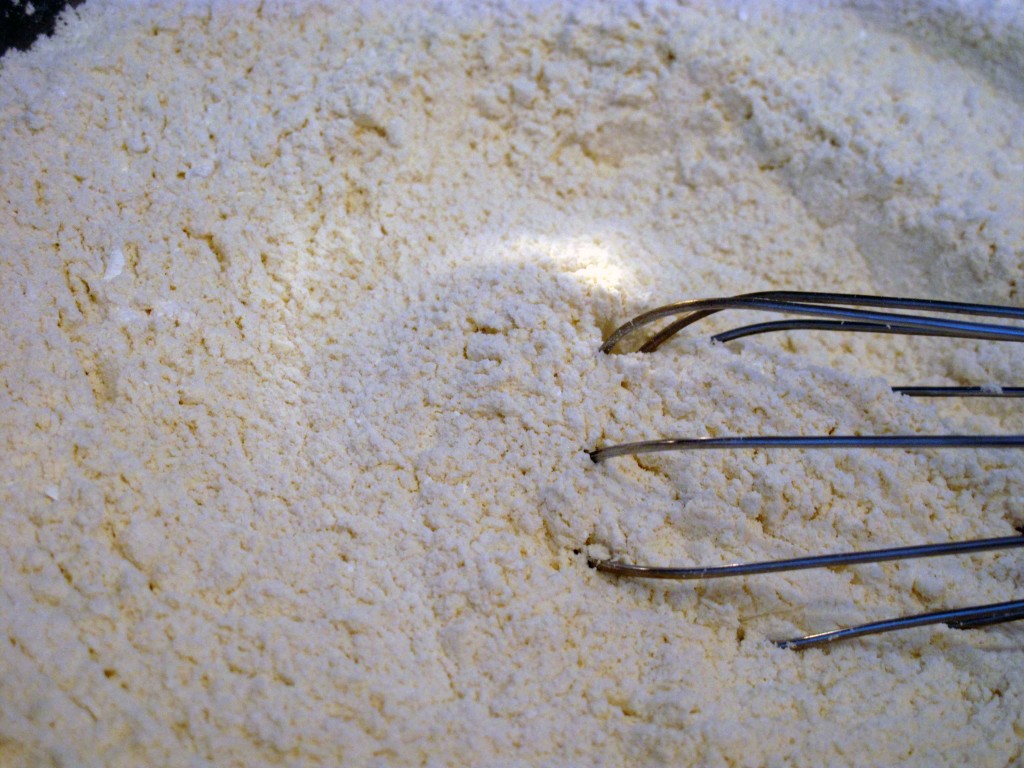
Sift 2 1/2 cups of flour into a bowl. After sifting, scoop the flour into a dry measuring cup, making sure you end up with 2 1/2 cups of sifted flour. (Or don’t sift at all. What can I say? I’m a sifter.) Place into a bowl large enough to hold the flour. Add baking powder and salt. Mix.
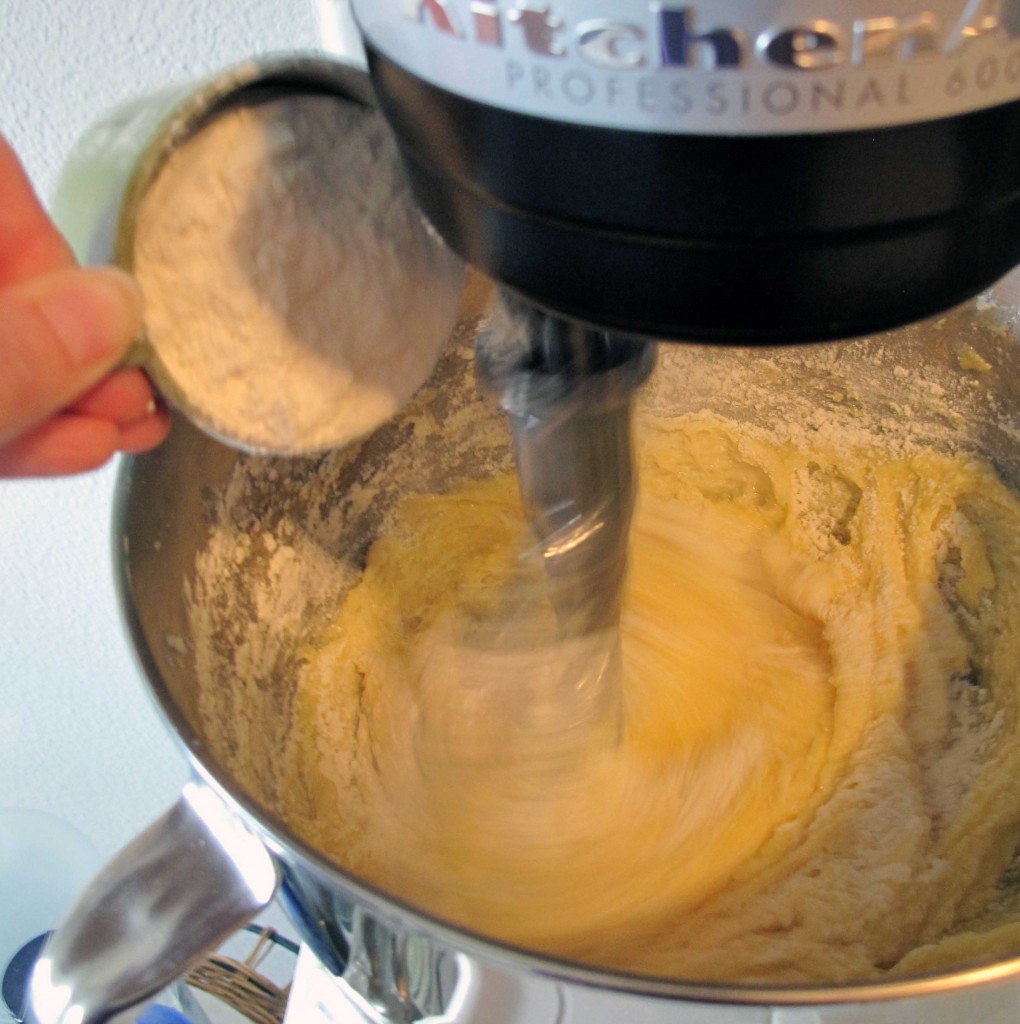
With mixer running, slowly add dry ingredients to butter mixture, incorporating fully before adding more. I usually add about 1/2 cup of dry ingredients at a time.
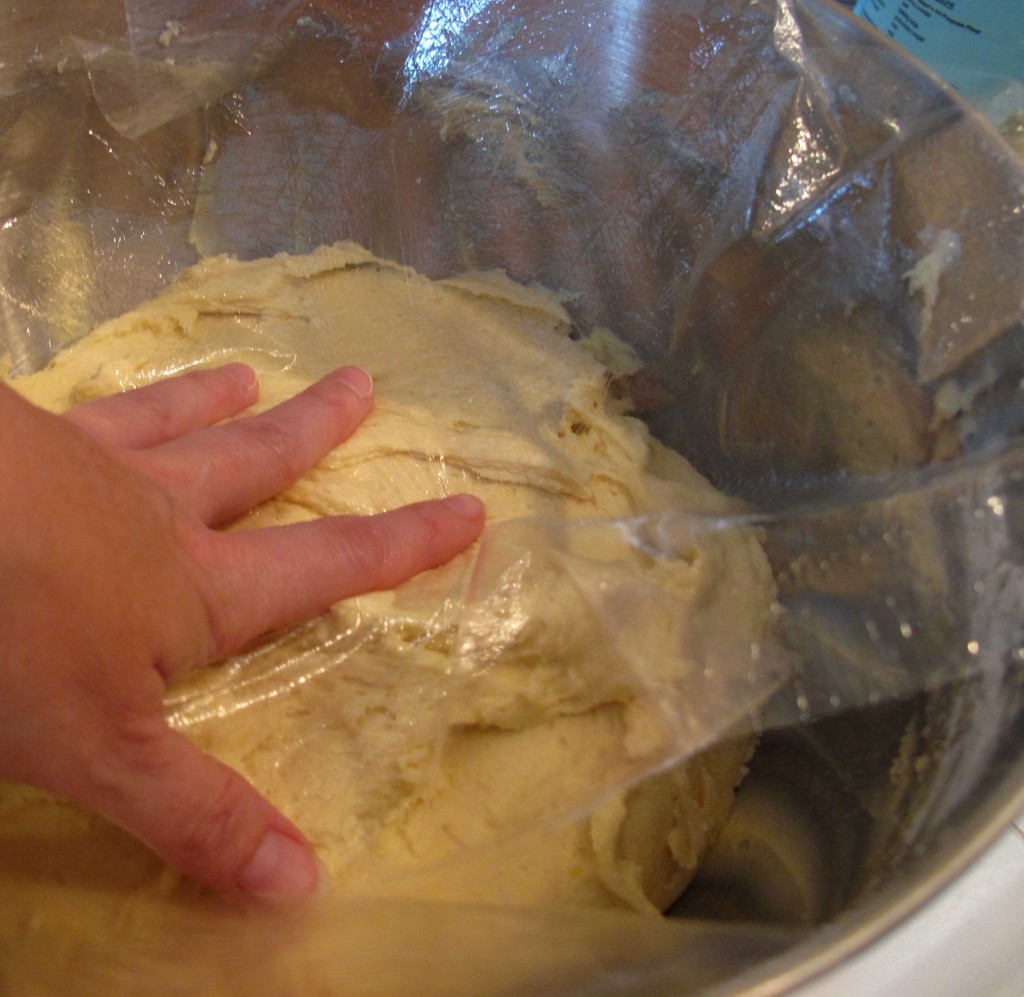
Once mixed, scrape the dough on to a large piece of plastic wrap. Wrap completely, shaping into a disc or a roll as you go. Or! Be lazy like me, and just press the dough down and seal tightly with plastic wrap. Or! Don’t be lazy like me. Your call. Chill the wrapped dough for at least 2 hours. (Can be chilled overnight.) By the way, my hand is quite ordinary and not at all squashed, as in the photo above. I just didn’t give my hand any warning as to when I was going to take the picture. It just wasn’t camera-ready. Swear-sies.
Preheat oven to 375 degrees.
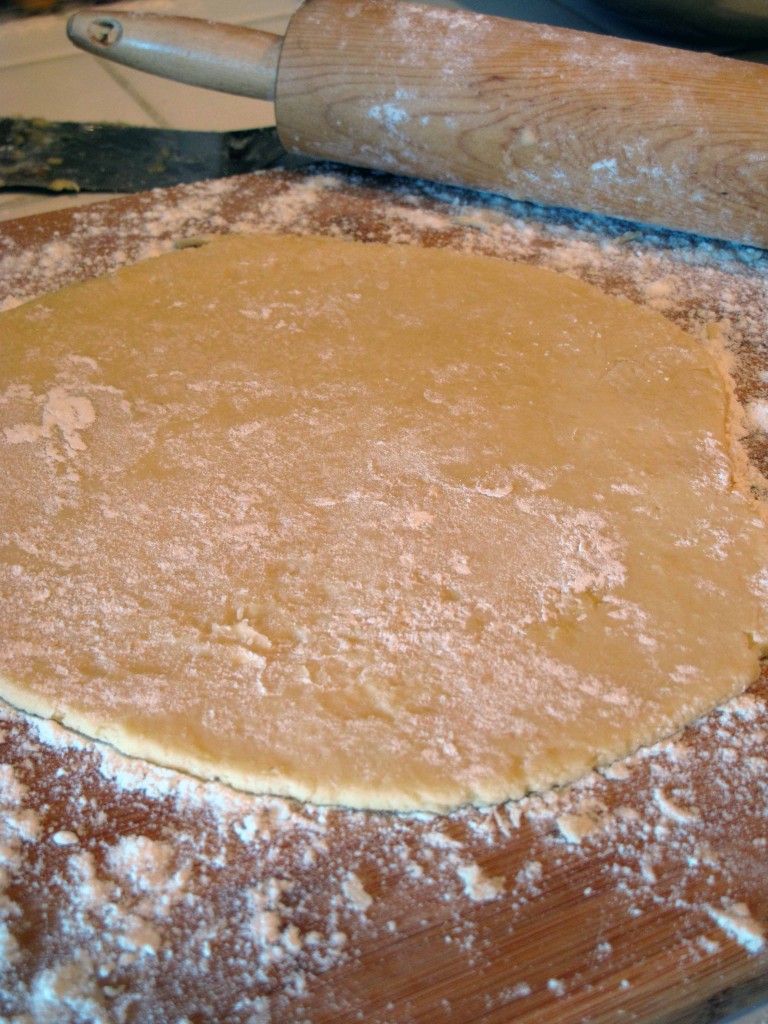
Remove dough from refrigerator. On a lightly floured surface, with a lightly floured rolling pin, roll dough to about 1/8-inch thickness.
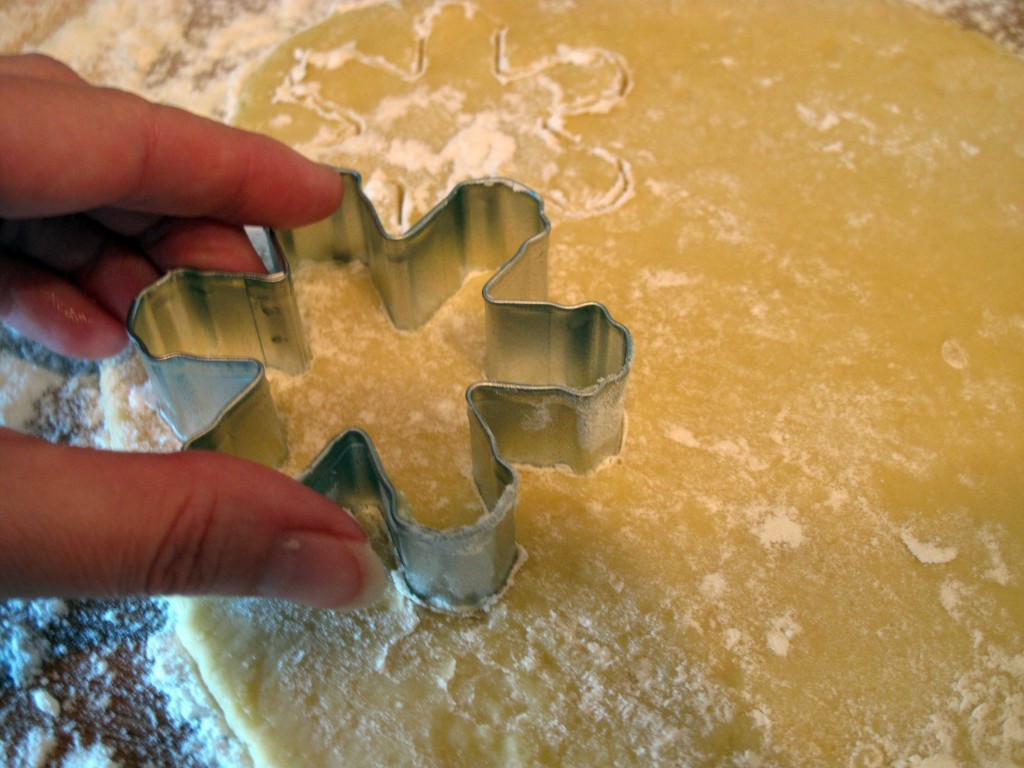
Cut as desired…

and place cookies on ungreased cookie sheets.

Bake in pre-heated oven for 7 to 8 minutes. Transfer to wire rack and let cool.
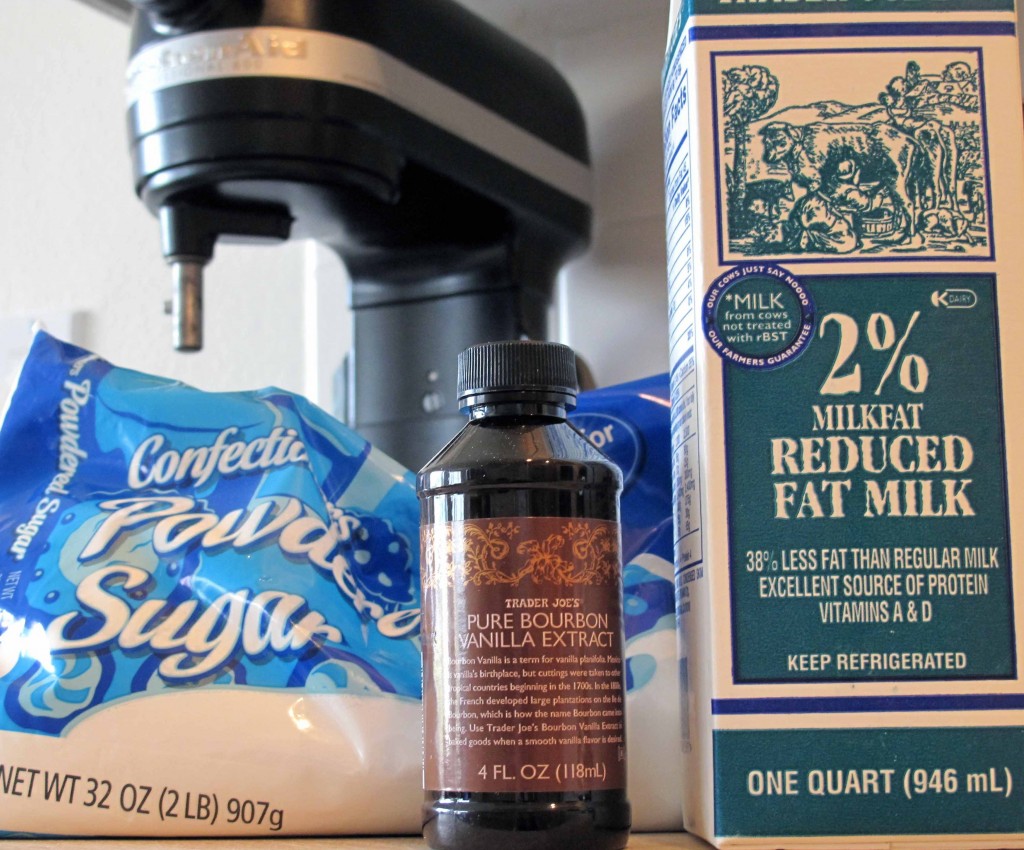
If decorating, mix the sifted powdered sugar, milk and vanilla until well blended.
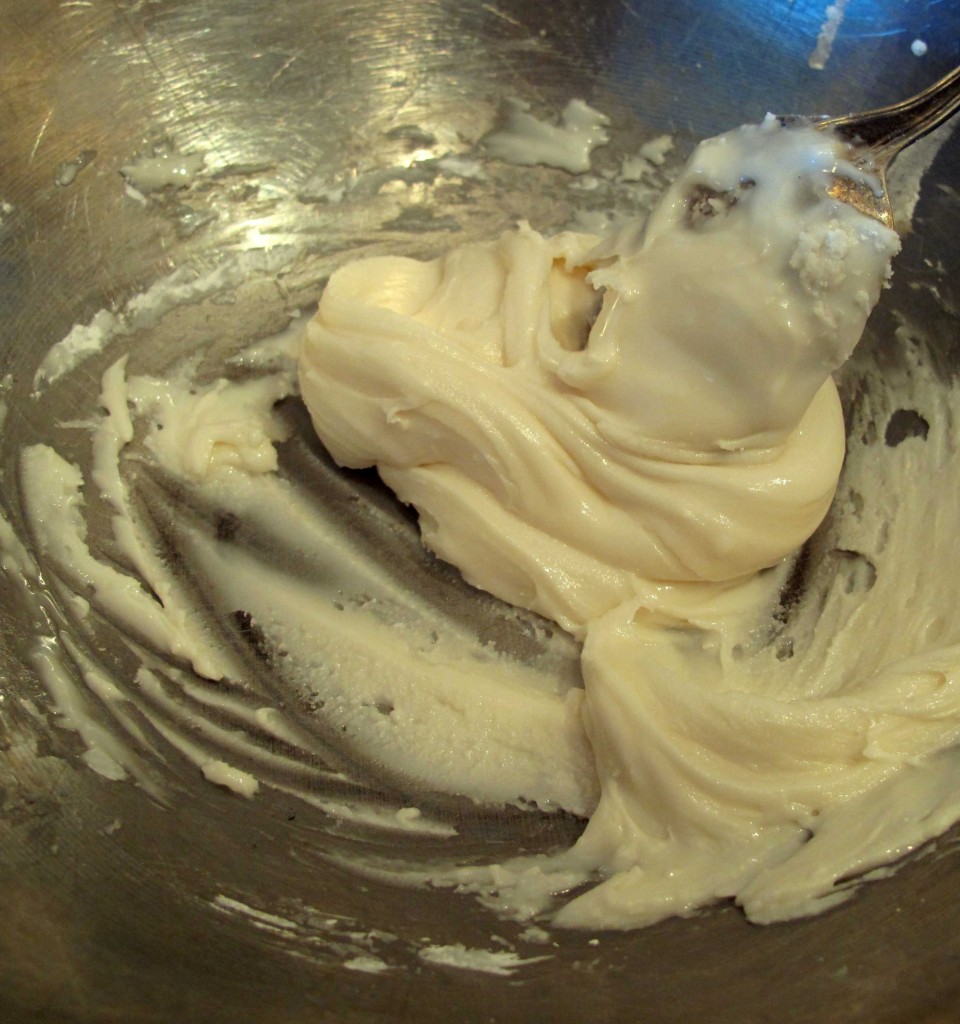
If dyeing the icing, separate icing into bowls, making sure the number of bowls equals the number of colors you plan to use.
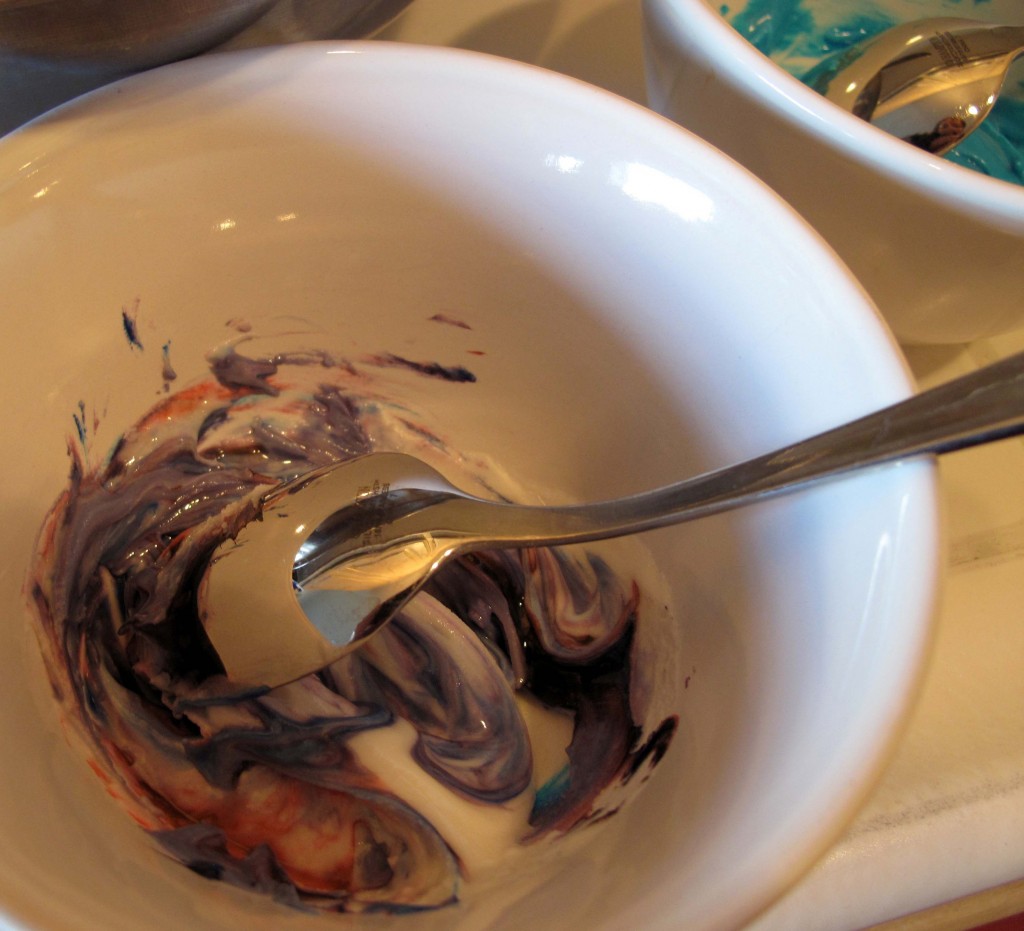
Stir in dye, little by little, until you reach desired color.
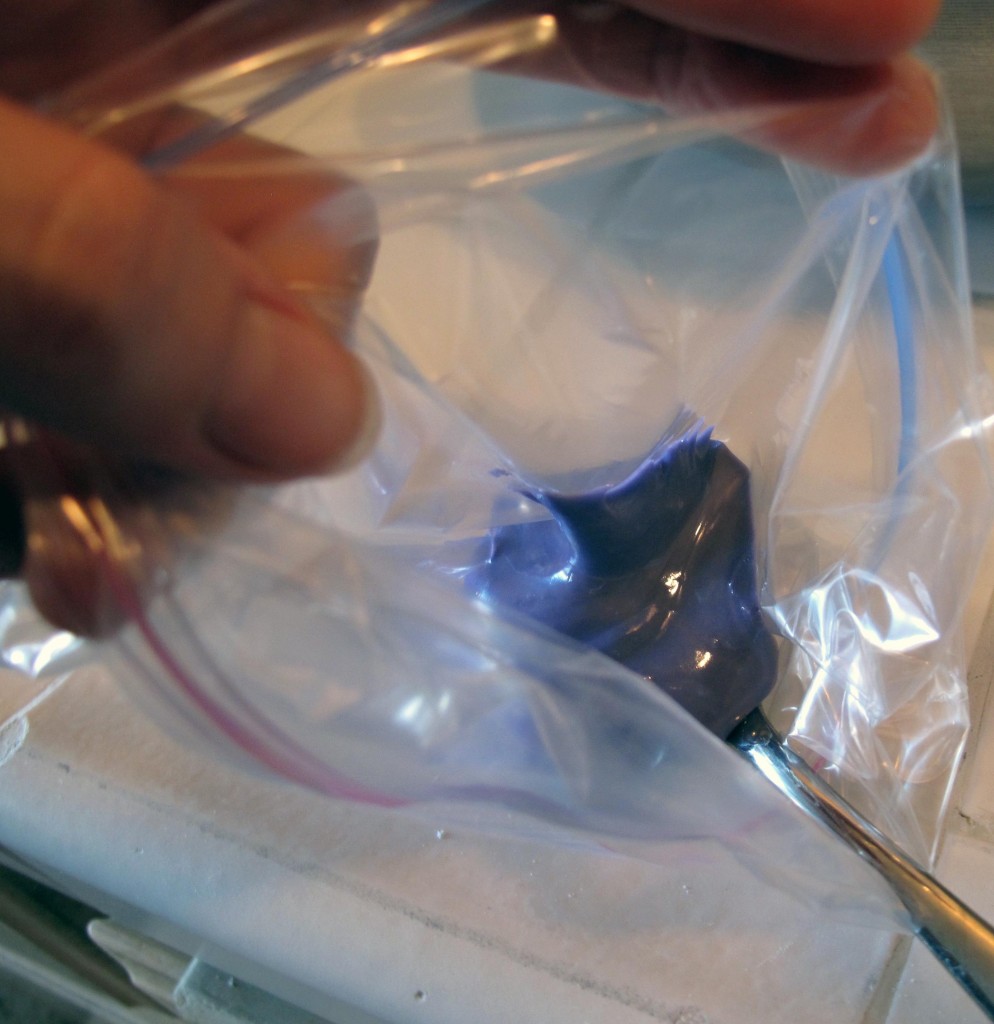
Take a clean, plastic bag (small is good) and spoon the icing into one bottom corner of the bag.
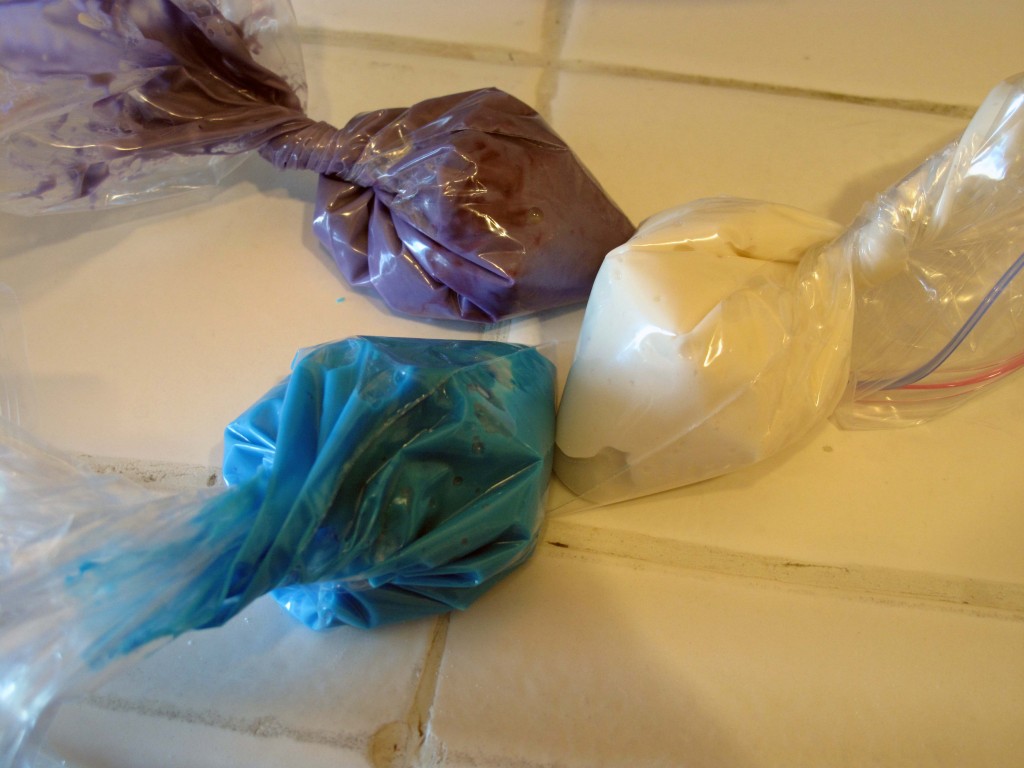
Twist it closed, and snip a super-tiny corner from the plastic bag.

Apply the dyed icing to the cooled cookies in any designs you want! I made this batch for a Hanukkah party. But think about it – you could decorate these cookies for Halloween, the 4th of July, Talk Like a Pirate Day, whatever!
Allow the iced cookies to “set.”

Holly Jolly! Holiday cookies! They really are delicious, and they’re oh-so-pretty. Give it a try. You’ll be glad you did.
| Holiday Cookies |
- Cookies:
- 1 c. (2 Sticks) Unsalted Butter, at Room Temperature
- 1 c. Sugar
- 2 Eggs, at Room Temperature
- 1 t. Vanilla Extract
- 2 1/2 c. All-Purpose Flour
- 1 t. Baking Powder
- 1/2 t. Salt
- Powdered Sugar Icing:
- 1 1/2 c. Powdered Sugar, sifted
- 4 t. Milk
- 1/2 t. Vanilla Extract
- Bring the butter and eggs to room temperature.
- With a hand mixer (or a stand mixer), cream the butter and sugar together until well-blended.
- Add the eggs, one at a time, and vanilla. Mix.
- Sift 2 1/2 cups of flour into a bowl. After sifting, scoop the flour into a dry measuring cup, making sure you end up with 2 1/2 cups of sifted flour. Place into a bowl large enough to hold the flour. Add baking powder and salt. Mix.
- With mixer running, slowly add dry ingredients to butter mixture, incorporating fully before adding more. I usually add about 1/2 cup of dry ingredients at a time.
- Once mixed, scrape the dough on to a large piece of plastic wrap. Wrap completely, shaping into a disc as you go. Chill the wrapped dough for at least 2 hours. (Can be chilled overnight.)
- Preheat oven to 375 degrees.
- Remove dough from refrigerator. On a lightly floured surface, with a lightly floured rolling pin, roll dough to about 1/8-inch thickness.
- Cut as desired and place cookies on ungreased cookie sheets.
- Bake in pre-heated oven for 7 to 8 minutes. Transfer to wire rack and let cool completely.
- If decorating, mix the sifted powdered sugar, milk and vanilla until well blended. If the icing is too dry, add milk – 1/2 t. at a time – until the desired consistency is reached. Un-spreadable is too thick. Runny is too thin. You be the judge.
- If dyeing the icing, separate icing into bowls, making sure the number of bowls equals the number of colors you plan to use.
- Stir in dye, little by little, until you reach desired color.
- Take a clean, plastic bag (small is good) and spoon the icing into one bottom corner of the bag. Twist it closed, and snip a super-tiny corner from the plastic bag.
- Apply the dyed icing to the cooled cookies in any designs you want!
- Allow the iced cookies to “set.”
- Serve!
I only use Pure Vanilla Extract, never imitation. It costs a little more, but I believe it’s worth it.
Sift your flour! It isn’t necessary in all recipes, but I prefer it here. (Of course, if you don’t sift the flour, the sky will not fall and your cookies will still be fab!)
This dough wants to be cold! Work with only a portion at a time, and keep the rest chilled until ready to use. Trust me: warm dough is a sticky mess!
